It was my mum's birthday on Tuesday so I had a great opportunity to try out an ombre cake.
I was going for a pinky peachy colour and it came out slightly more orange than I would have hoped but my mum was happy with it and that was all that mattered. Unfortunately we were not able to cut the cake until the evening so the following pictures are a little dark but you will be able to see the look I was going for.
I covered the cake in vanilla frosting and graduated the inside from dark to light, it looked great and tasted even better! Next time I am going to attempt to pipe frosting roses, so watch this space :)
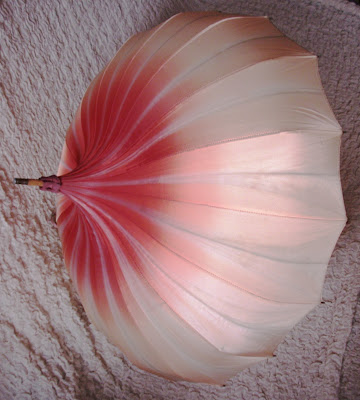
Yesterday to get my ombre needs met, all I had to do was put up my lovely vintage parasol, I found this at a carboot for £2!!! I couldn't believe my luck. There are not really many uses for this, as I don't want it to get damaged by the sun anymore than it already is. So on dark winter days when I am feeling a bit miserable from lack of sunshine, I put on a summer dress and get it out to pretend it's summer :) as long as I don't look out of the window, I can forget it is winter for a couple of hours and cheer myself up!
Today I had a go at ombre nails, as you can see I need to make the graduation less subtle next time. All you need for this look is a deep colour nail polish, white nail polish, a paper plate, cocktail stick and an old nail polish brush.
Start with the darkest colour on either your thumb or little finger. To do the next finger nail, put a blob of dark polish on the paper plate, add a drop of white and mix with the cocktail stick, apply to the nail with the old brush. Continue with the next nail but this time add 2 drops of white polish to the blob of dark polish, as you do the other nails just add 1 more drop of white polish each time. Sorry not very it's not very precise with blobs and drops but precisness is not needed :)
I hope you are having a great week so far and enjoying the extra day of February we get this year!
Laura xx


No comments:
Post a Comment